Monday, January 23, 2012

Sunvisors Installed

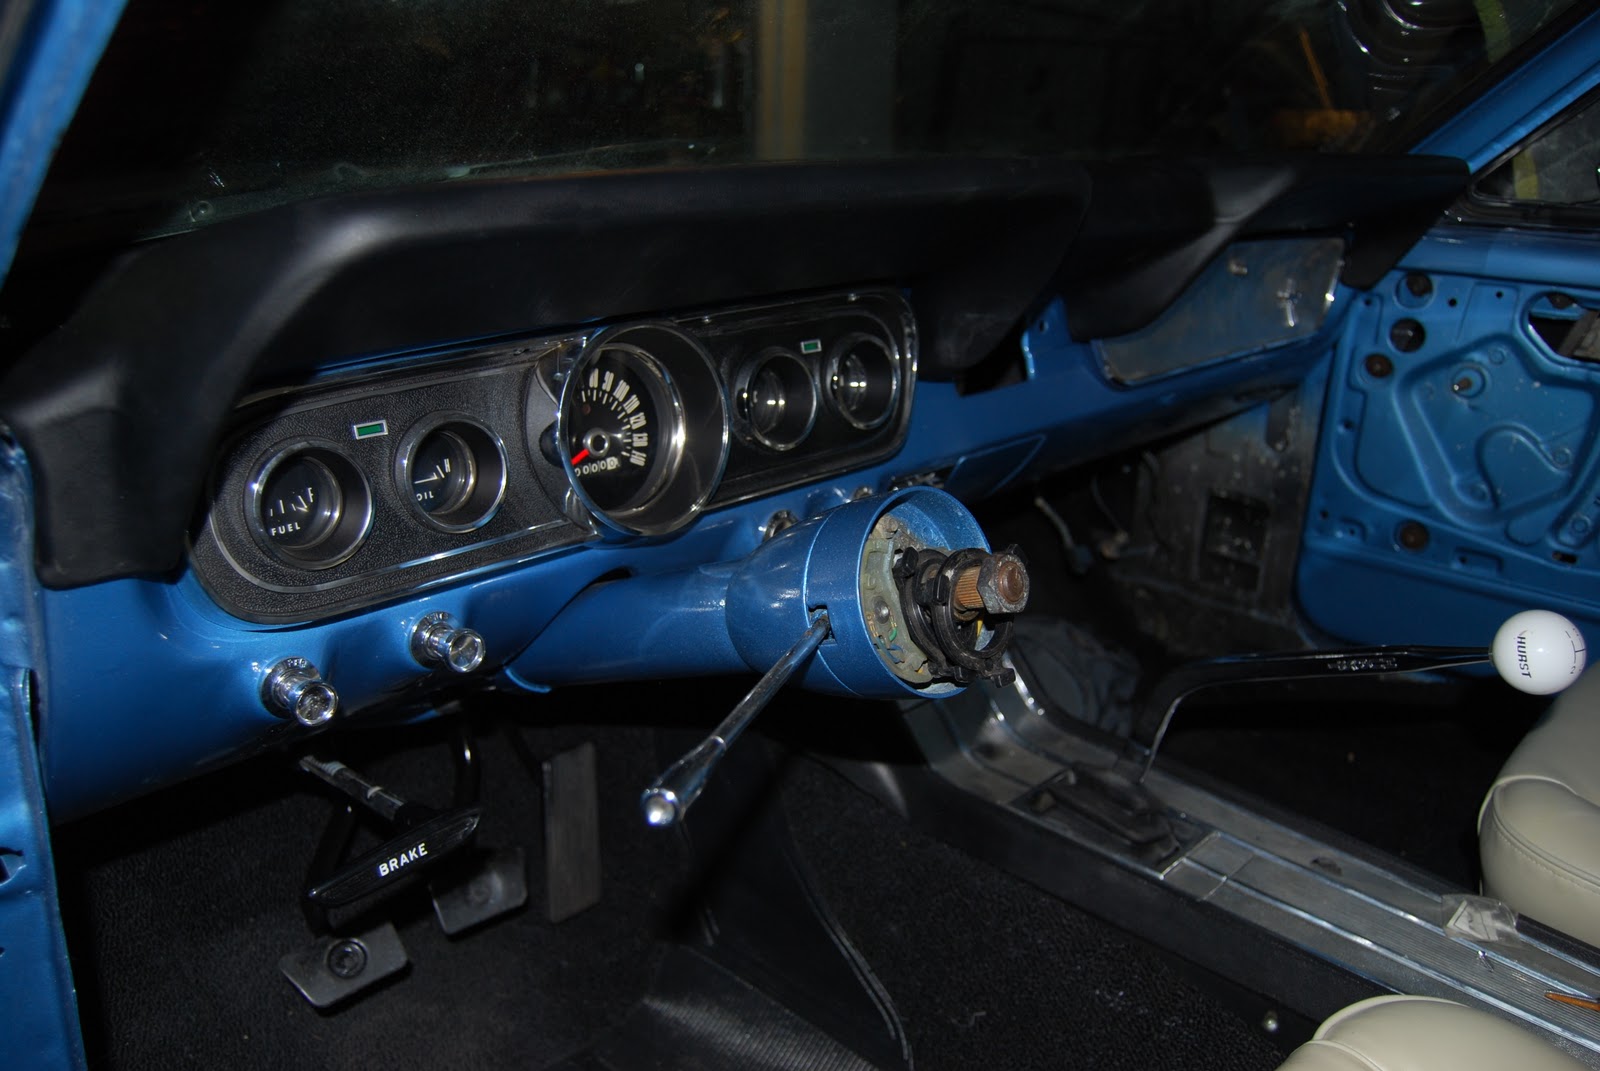
Nothing much to report today. It was raining all day so I didn't really do much on the car. I installed the sun visors...


I also painted the clips that hold down the rear package tray. I had to clean them off primer them first, but I used some white interior paint on them to match the rear seat and package tray. Since it was cold I held off on installing them until they completely dried. 

I still need to adjust the windows before I can install the door panels, arm rests and other door trim. I'm getting there...

Saturday, January 21, 2012

Bumpers, Blinkers and Weatherstrip

I didn't get around to working on the motor this weekend, but I did work o a lot of other little things. I had to clean up things like the seat track sliders, the backing for the front turn signal housing, bumper bolt washers, and the rear bumper light housing. They all had a little surface rust so i used the wire wheel to clean them and then coated them with metal primer and painted them black.

I tried to push down the key that holds the trunk tumbler inside the trunk trim molding and it wouldn't depress. I had to drill it out in order to get the old tumbler out in order to reuse. With the tab drilled I had to tack weld the tumbler to the new housing.


After I cleaned and painted the bumper washers and side brackets I was able to mount the bumper with my dads help. I also mounted the front blinkers since I got in the lens gasket and housing-body gasket. 


I installed the door post weatherstrip on both sides.


I also installed the 1/4 window weatherstrips for the window and the door jam.


I installed the new pedals along with the pedal trim. I was only missing the brake pedal trim, but it had come in the mail while I was working on the car. 


The rear bumper game me some problems, but I'll be able to tweak the mounts a little to get the bumper to line up. 


Thursday, January 19, 2012

Parts on the Way

I should have about five packages delivered tomorrow containing something like $900 worth of parts including my bumpers, door panels, kick panels, etc. I'll spend some time Saturday installing some of the parts and hopefully getting the car running. I'd ideally like to take it for a test drive around my parents neighborhood. We'll see what happens.

I also ordered a set of gauges for under the dash in order to accurately monitor the oil pressure, water temperature and the battery charge. They are 2" Equus 8200 white faced gauges with a black mount.


Saturday, January 14, 2012

Door Weatherstrip, Trunk Sound Deadner

Lauren had a few things to do around the house today so I had about five hours to work on the Mustang. I did a lot of "non-essential" things meaning that they don't have to be done to actually drive the car. I wanted to clean and paint the dome light holder for the past couple of weeks so I sprayed it with grey metal etching primer and then shot it with "chrome" paint. My thinking was that the reflectiveness of the surface would help light up the interior.


Before I install the exhaust I wanted to put sound deadner in the trunk area to help keep down the vibration and drone sound. I had to sand down the area and clean it with a solvent. I didn't cover the entire trunk area since I'm told that you only need to cover between 30-50% of the surface area.
 

I had covered the tail panel last week but neglected to take any pictures in the dark.


I had to mask off and repaint the area behind the export brace because it got blue paint on it and the paint line was lower than the weatherstrip which made for an odd look. I still need to clean up the polishing compound under the hood and on the hinge.

 
I decided to just use the mounting hardware that came with the fans rather than try to fabricate my own. It came with plastic rods that slide through the radiator and clasp onto the other side. I still need to hook up the electrical so that they actually turn on when the water heats up.


Petey decided that he wanted to be in the car with me during the next and final task for the day which was to install the door weatherstrip.


I used 3M super weatherstrip adhesive which is a yellow color. I wasn't a fan of the yellow color because it doesn't blend as well if you get some on a visible area. I applied a coat onto the door as well as on the weatherstrip and let it set a little. The install would have gone a lot smoother if I had another set of hands to hold the weatherstrip after it had the glue on it.


I decided to buy most of the remaining parts for the car rather than having the exhaust installed. I bought both bumpers along with a list of other odds and ends. I hoping to have all of the parts I've ordered in the past couple of weeks at my door by the end of next week. The last thing I'll need to buy will be a new heater box. I'll have the exhaust hung after my next overtime check in a month or so. I can drive around with open headers for a while...it won't hurt anyone right?

Wednesday, January 11, 2012

Interior Instillation Part II


I spent a few hours working on putting together some more of the interior today before men's group. I was able to install the dash/windshield trim with a little finesse. I had to trim some of the dash around the screw holes because it was nearly impossible to get the screws started when I didn't even know where the holes were.


I also installed the screws above the glove box door to keep the dash up since it was sagging a little big around this area. I haven't installed them above the gauge cluster yet and am not sure that I'm going to since the dash sits up nicely without them. 


My brother helped me out by sanding down a lot of the paint built up on the drip rails and then installing my old drip rail molding. he them polished them to a nice shine.


I installed the sunvisor rods even though I don't have the sunvisors from CJ Pony yet. They are still on backorder from what I can tell.


My brother also fixed the trunk latch so that the trunk now stays closed and I installed bolts to hold down the gas tank filler neck. I couldn't use the heavy screws because at some point in the car's life the holes were drilled out and were too big for them. The bolts I used were small bolts, but they were bolts nonetheless.


Another thing I did was remove the old parking brake handle and install the new one. This was a pain in the butt to do. I couldn't get the pin out the holds the handle to the rod so I had to use a grinding wheel to trim it down. Eventually I got it off and was able to pretty easily install the new one. I then masked off the area and repainted the clutch, brake and accelerator pedal black since they got a lot of over-spray from painting the interior. I still need to install the pedal pads and trim rings.


The last picture I took was just of the seats since I like them so much. I did install the side trim on them last time I was over and you can partially see it on the driver's seat. My dad has upholstered one of the rear quarter panels which puts me one step closer to installing the rear seat. The package tray is still on back order through.


Tuesday, January 3, 2012

Interior Installation Part I.V (1.5)


I had about two hours to squeeze in some Mustang time tonight so I installed the rear view mirror and the glove box. I apologize in advance for the crappy nighttime cellphone pictures, but I figured something was better than nothing!

Original Nite/Day Rear View Mirror

65 Glove box Door

Monday, January 2, 2012

Interior Installation Part I


Today as a great day to get started on installing the interior of the Mustang since Lauren was working and I was off due to New Years Day being celebrated on Monday the 2nd. I had expansive fifteen item list of things that I wanted to get done today which was very ambitious, but motivating nonetheless. These were the things that I was able to accomplish with some help from by older brother and dad:

  1. Paint gas tank
  2. install gas tank
  3. Modify filler neck and install
  4. Install gauges
  5. Install carpet
  6. Mount seat hardware
  7. Install center console
  8. Install front seats
  9. Install side windows
  10. Clean/install brake light housing

The things that I didn't get completed were to upholster the quarter trim panels, clean the drip rail, install the drip rail molding, install the rear view mirror, and install the trunk latch. I'll get to the rest when I have the time.

I started with painting the gas tank since I wanted it to dry before I installed it. My dad had sprayed some etching primer on it a few days prior and I was able to wipe it down and then spray it black. This is no ordinary 16 gallon tank for a 1966 Mustang, its a 22 gallon tank from a 1970 Mustang and it fit like a glove in the existing hole. I used some seam sealer around the edge to give it a water tight seal. I had to cut about 1.25" of of the bottom of the 65/66 filler neck in order for it to properly fit with the taller gas tank.

1970 22-Gallon Gas Tank

Next on the daily agenda was to install the gauges. I was smart when I took them out and I used some masking tape to wrap each wire and then wrote what it was for. The only problem was that over the course of the past 2 years the writing faded and I couldn't read what the wires were for. I referred to my own BLOG with the wiring diagrams in order to complete the re-installation. 


As you can see this picture also shows the carpet installed along with the center console and shifter, but I didn't stop to take a picture of the car with only the gauges installed; I was on a mission. The only thing I didn't like about installing the carpet was that I had to cut the hold for the shifter. I assumed that since this carpet was made for this car that it would have the hole cut out. I still need to install the glove box, pedal covers, steering wheel, dash pad, parking brake handle, but that will happen soon enough. The dash pad is on its way and should be delivered sometime this week. Another tough part about the carpet was finding the screw holes for the center console. I used a screwdriver like pointed object to prod until I found the holes.

The seat tracks weren't too hard to install, but I did have to use a thread tap to clean out the threads in the seat frame because they got clogged up with Por-15. Once I had the hardware on, I used the same prod that I used to find the center console holes to find the seat holes and then used a 1/2" drill bit to drill holes through the carpet so that the seat could slip right into the holes in the floorboard. I still don't have the side trim installed on the seats, but I did order it and will install it in a week or so.

White TMI Sport Seat w/ Headrest
 
My brother helped me out with cleaning and installing the rear tail light housings. He also installed the lens and chrome bezel that I cleaned about 7 months ago.


The project of putting together the wing windows and installing them along with the side windows was my dad's and brother's. I didn't have any part of that project today as I was busy with the interior and gas tank. They also installed the window felts (a.k.a beltline weatherstrip.) The windows still need a little adjustment, but we'll get around to that once I get the roof rail weatherstrip installed.


I've yet to install the roof rail molding, but I'll get to that once I've stripped some of the paint off the rail. There is way too much primer and paint built up on the rail to get the tight fitting molding onto it.

Here is a picture that shows both seats installed. By the time I was done with both seats it was mostly dark outside. At least the days are starting to get longer now. The door panels are on back order from CJ Pony Parts so I'll have those in 2-3 weeks. I'll install the backseat once I have the upholstery on the rear quarter panels.