Today Lauren played in a charity golf tournament with Nikki and friends to it was a perfect opportunity to work on the Mustang as I am preparing it for paint. I invited Darrell (my mother-in-laws fiance) to join me in working on it if he so desired. He chose to come and help me out since he knows I don't have a whole lot of time to work on it.
I arrived first and started by removing the headers that I installed about 6 months ago. There is a long story behind that and its not worth talking about, but I did want to note that my car is header-less again:

On a brighter note, I did order a set of Patriot mid-length headers for about $154 that were designed to work with the cable clutch conversion so they should fit much better than the previous Hedman headers that I had installed before. I will need to paint them, but I've already ordered some high-temp black paint and will have them painted before I install them.
 |
| 65-66 Mustang Patriot Mid-Length Headers |
After I finished that, I started drilling the holes for the export brace across the firewall area behind the motor. If you remember I welded in a strip of sheet metal over the existing support in order to make it look cleaner. I drilled the four holes necessary to put in the bolts to hold the brace and then I tightened it down.

While I was at it, I needed to drill a hole on each side of the fender aprons for the new monte carlo bar that I just installed. That took next to no time at all.

Around the time that I was finishing up with the drilling, Darrell arrived. I gave him a nickel tour of the car and then put him to work on sanding the dash (Luke's job last weekend) and also the steering column. It didn't take him too long to get it sanded.
 |
| 66 Mustang Dash Sanded |
In the mean time I was working on getting that nasty gold paint sanded off of the car since it tends to flake and would make for a horrible base under my brand new paint. Last week I sanded the gold off of the passenger side door. As you can see, there was some body work from the previous owner.

This week I needed to do some sanding on the driver's side door which definitely isn't as pretty as the passenger's side door.It looks more like a Picasso than anything else with all of those colors. This side must have had more body work than the other side.

Darrell spent the rest of his time cleaning and sanding the inside of the passenger's side door. From the factory there was a coating of an adhesive that helped seal the door panel to the door and keep the inside of the car more quite. He used a wire brush to get it all off and then used some sandpaper to sand down the black paint which will be replaced with the blue paint from the exterior of the car.

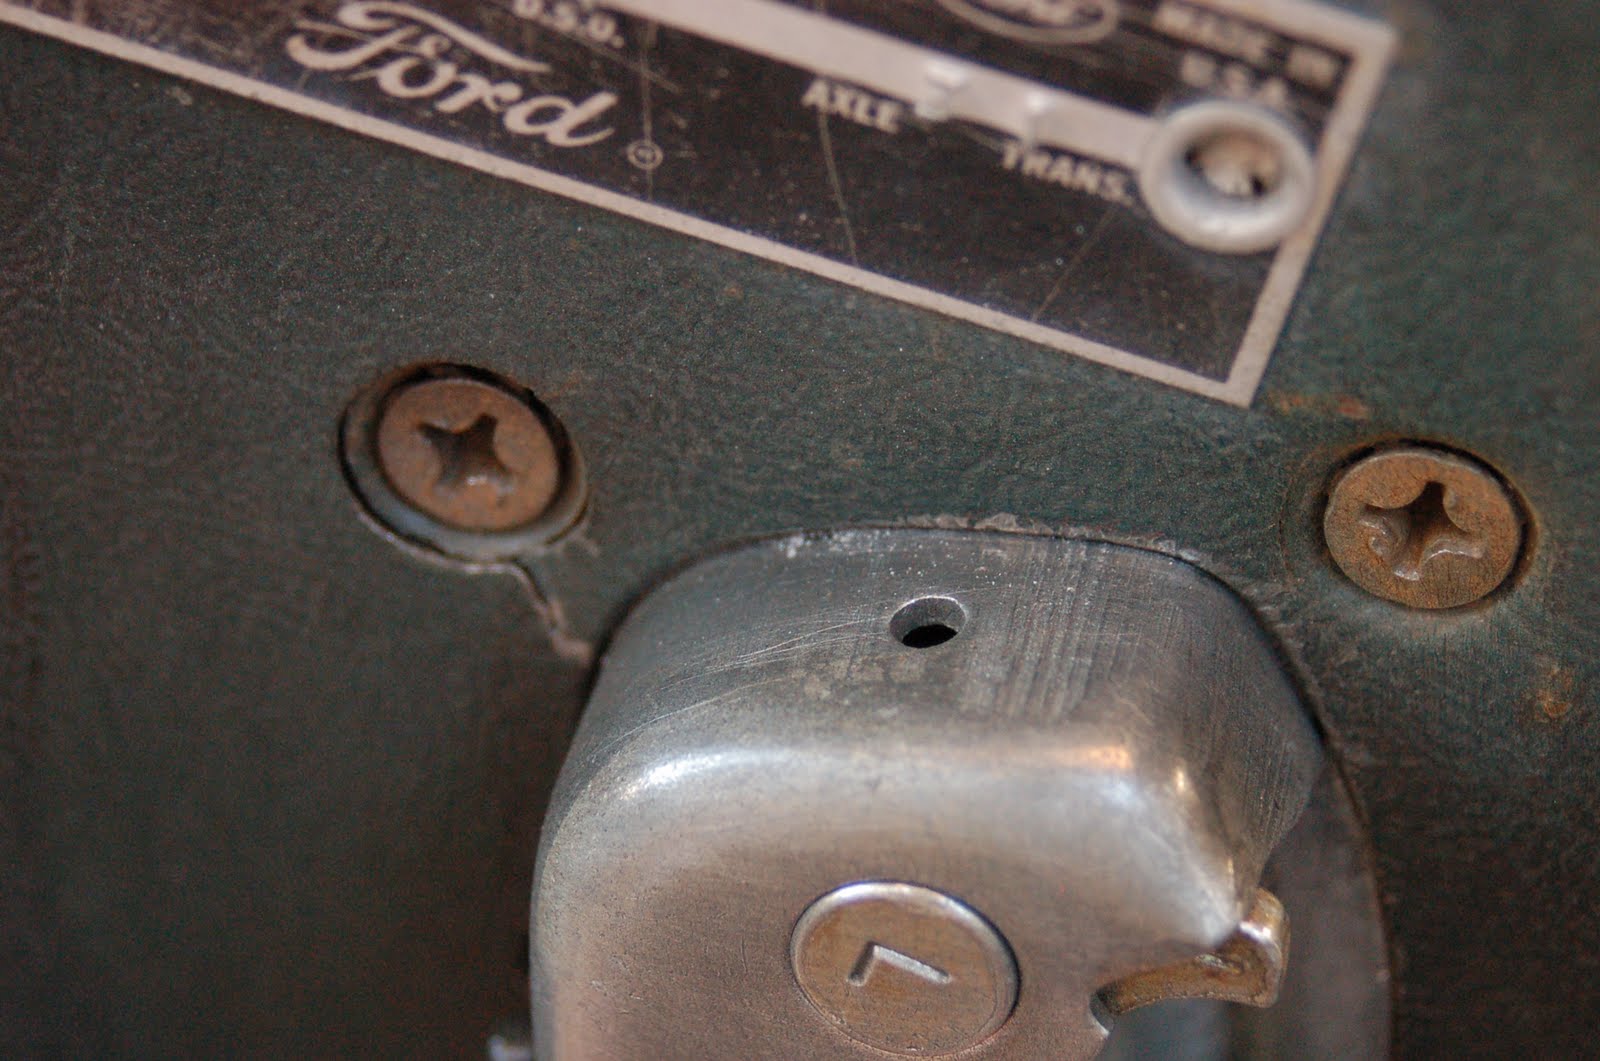
The driver's side door latch has some problems of its own because all three of the screws that hold it to the door have cracked. One has completed cracked all the way around while the other two are still holding on. I'm going to attempt to use a tapered washer to hold the latch onto the door. It is holding fine now, but I want to make sure that it stays fine in the future.
Petey didn't seem too excited to be hanging out with me while I worked on the Mustang, but then again, he's a dog and the only things that excite him are food and walks.


I just came across your blog and noticed you were in corona. Im in riverside and am currently driving and restoring a 66 mustang simultaneously. Im gonna start using your page for reference. Its a great page! That Mustang's gonna look great.
ReplyDelete