Wednesday, November 30, 2011

Second Coat of Clear, Wet Sanding & Sound Deadner (Part I)


The Car received its second coat of clear on Monday since I had the time to wet sand it on Sunday. We sould have sprayed it on Sunday afternoon, but the wind was kicking up again and we didn't want to be put in the same situation a second time--fool me once (wind), shame on you; fool me twice (wind), shame on me.Although I was working on Monday morning, my brother was kind enough to take a few pictures for me after the car was painted.


I went over to my parents house on Tuesday right after work to begin installing the sound deadener that I bought from Second Skin and found that my brother had already wet sanded most of the car's exterior with 1200 grit paper. That saved me a ton of work!


Since I didn't have to start wet sanding the car, I got right to work on installing the sound deadener on the inside of the doors as well as the roof of the car. After reading some posts on VMF about how much sound deadener to use, I realized that I didn't have to completely cover the panels to stop the panel vibration which causes interior noise. I'm holding off of installing the sound deadener on the firewall and floor until after the car has been polished.


I'm also going to install the heat shield on top of the sound deadener, but under the headliner. I'll do that once I'm just about ready to install the headliner/glass so that the heat shield material isn't out in the elements too much.It just glues to the roof...noting too complicated.

Saturday, November 26, 2011

Painting the Car

The sky was clear, and the temperature was perfect! It almost turned out to be a perfect day to paint the car. Only one thing messed everything up...the wind. While we were painting, the wind decided to kick up and unfortunately a lot of debris got into the clear coat so we'll have to shoot another coat tomorrow. We're going to wet sand the clear enough to get out the bumps and allow another coat of clear to stick. I swung by the paint store to pick up another gallon of clear and hardener as well as some more Smoothie. 

My dad did a fantastic job painting the car today. He has no problem crawling on the ground if that's what it takes to get the right angle to shoot a particular section of the car.


Me looking at the trees to gauge the wind

The base coat turned out great...it was just the clear the got the debris in it. According to the clear coat specs, we need to let it cure overnight and can then wet sand it in the morning. The sky is supposed to be clear and the temperature should be around 82 degrees so the only thing we'll be watching for is more wind although it's not in the forecast for tomorrow. Once its wet sanded and the weather permits, we'll shoot the last coat of clear on it tomorrow afternoon otherwise we'll wait until Monday.


Wednesday, November 23, 2011

Painting the Interior


I took today off of work originally to paint the entire car, but after some talking out of it by my dad we decided to paint at least the interior today. Saturday it is supposed to be a beautiful 78 degrees here in southern California which is when we're going to paint the outside of the car. Today was a good day to paint at least part of the car to alleviate some of the burden of painting the entire thing in one day. We shot it with a two stage paint (base/clear) by 4th Dimensions. The color laid down pretty nice right out of the gun.


We next mixed up the clear with some blue pearl in it to help lighten up the color and give it a little depth.


When the clear was first shot out of the gun, it wouldn't lay flat on the car. With some time it was laying down, but it was strange that it had such a textured look to it.


We also shot the underside of the trunk so that we didn't have to mess with it on Saturday when we shoot the rest of the car.


Friday, November 18, 2011

Still Upholstering- UPDATED

I've been spending time here and there throughout the week to work on the upholstery. It's been a great learning experience and I'm glad I tried it. I walk talking with a guy in my small group that owns a muscle car shop and he said that when they have the upholstery done with a kit, it is usually taken apart and redone because they never quite fit right .I can see what he's talking about! The seams don't always seem to line up like they should. Everything is coming along quite nicely though. I've just about finished the driver's seat. I only need to but the top and bottom together and  install the headrest as the mount itself has already been bolted to the frame


I really like the detail of the "pony" interior package. I'm glad that the chrome piece in the middle of the seat isn't a chrome looking sticker, but instead is actual metal.

Once the headrest is mounted to the seat the only other thing I'll have to do is the rear seat which I hear is much easier than the front seats.I bought a sheet of foam to make sure that the seat is filled out although I'll still be using the original padding as well.. I'll probably get to it this weekend or sometime during the week next week. I'm keeping my fingers crossed for paint sometime in the next week or so.

UPDATE 11-19-2011


I've got both front seats fully upholstered. The only thing that is left for the two fronts is to put on the side "hockey sticks" and seat rails underneath.

BEFORE


AFTER


UPDATE 11-22-2011


I've started an finished the rear seats! I used the original padding, but I also added a little extra in order to fill out the seats so that the upholstery pulled tight. I added about 1" of foam underneath the original padding. I used a few hog rings to make sure that the foam doesn't shift around. It looks pretty good when you compare it to what it looked like before.


BEFORE


AFTER

Wednesday, November 16, 2011

Starting the Uphostery

I received the pieces of the interior that I ordered including the TMI Sport Seat foam and front/rear seat upholstery and headrest kit so I started to re-cover the seats. In a blog from January titled Sittin' Pretty I had removed the upholstery, prepped the metal with Por-15's Metal Prep and coated them with Por-15. They were now ready for a double layer of burlap, listing wire, hog rings and new upholstery. I spent about seven hours covering one seat and I went through about 220 hog rings because I had to keep on removing them after doing something wrong. Now I have a better idea of what I'm doing and I'll go buy some more hog rings and hopefully not go through as many.


The headrest is in a great location as for as where my head rests on it. I thought that since I'm 6' 3" it wouldn't sit high enough, but even when its all the way down, it touches my head. For my wife, it's perfect. 

Monday, November 14, 2011

Exhaust Bracket & Primered Trunk


I was able to spend a little bit of time on Saturday morning on the car before heading out to g-ma Sylvia's house in LA. It has rained the past two Saturdays which has made it impossible to paint the car. It's also scheduled to rain next weekend...go figure. The big man upstairs doesn't want me to paint the car yet. Since the car came with a straight-six it only had single exhaust so I fabricated a hanger bracket to mount into the floor for the dual exhaust on the driver's side. I cut a piece of rubber to fit in between the bracket and the floor of the car in order to cut down on some of the vibration. The only other thing I'll need to do is slip in a u-bolt like the other side has.

I was also able to sand down the recently primered trunk lid. There were couple of spots that had to be sanded down to the old paint because the primer bubbled up around some of the curved areas.

I was able to swing by the house on Sunday to shoot a coat of dark blue paint on the trunk lid to see how it looked after block sanding it and I must say it looked pretty darn good. Once its dry we'll color sand it to be prepped for painting along with the whole car. In light of the current weather forecast for next weekend, we're hoping to paint the car on Thanksgiving morning weather permitting.

In the meantime, I'm going to get started on upholstering the car since the white pony sport seat upholstery came in last week. I brought he frames home to get started. I have new sport seat foams for the front so that's where I'll start tonight.

Wednesday, November 9, 2011

New (to me) Trunk Lid Primered

I had about three hours to work on the 'Stang yesterday afternoon before heading off to mens group so I took advantage of it since I don't know when I'll get to work on it next. The first thing I wanted to do was mount the rear valance on the car. I didn't have the mounting bolts so I did some searching in the sea of bolts that are contained in the garage and found a couple of similar bolts with the flat head and squared base. I had to notch the mounting hardware on the valance for the bolt to fit since the square base was slightly larger. I decided to welt the bolt onto the valance mount since it's not going anywhere anyways. The repo valance actually fit pretty well without hardly any tweaking.


Once the rear valance was done I was able to focus my attention on the trunk that I bought from a guy on Craigslist last week. I found another small low spot right around the middle of the lid so I used the z-grip body filler to take care or it. I used some 320 grit sandpaper to wet sand it to try and get a somewhat smooth surface for primer. My dad decided to shoot some primer on it since I had it in fairly decent shape. We started with the underside and shot a few coats on it.


Once the bottom was fairly dry, we use bolts to keep the lid from touching the horses and then painted the top. I could see a few small imperfections that needed to be addressed, but it was largely in great shape after my first pass of body filler. 


My brother also spent some time removing the steering wheel as we get closer to painting the car. Its better to paint with it off than with it on. I won't be reusing the original steering wheel anyways, but its nice to have it off now.

Monday, November 7, 2011

Minor Adjustments

This afternoon/evening was a time to work on the minor adjustments that needed to be done before the car gets painted. The first thing I did was find a nut and bolt that could be used to secure the underside of the driver's side fender since the nut that should have been there was missing. After a little bit of searching, I found a combo that was suitable for my needs. I cleaned up the bolt so that it had a nice layer of metal showing and did the same for the underside of the car's frame. Using he welder, I welded the nut into place and was able to secure the lower half of the fender.

After I got the lower bolt secure, I was able to start adjusting the hood. I was having some problems with it on Saturday when I was trying to line it up. It appeared that the driver's side gap between the fender and hood didn't exist. The hood was actually sitting slightly over the fender while the gap on the other side was about 1". I had to tweak the hood while all four hood bolts were loose and then I had to adjust both fenders to get the best looking gap possible. Although it was dark, I took a few pictures to show the gap now.


My brother was also kind enough to swing by and pick up some new shock tower mount bolts (3 per side= 6 total) since mine weren't completely secure and I was missing one of the nuts. We changed them in about 30 minutes and now I knew the shock tower is secure and it looks cleaner.


I also sprayed some metal etching primer on the trunk lid since the primary area that was showing was the surface rusted areas that were sprayed with Metal Prep on Sunday morning. The next step will be to shoot a regular coat of primer to see where the hood is and to proceed with any more necessary body work. I did have to put a skim coat of Bondo on the driver's side fender since there was a small dent towards the front that I hadn't noticed before. I did the same thing on the inside of the passenger's side door since I noticed a dent about the same size after it received a coat of paint. Having cold weather here in southern California has allowed me to slow down a little and take some time to work on some of the tedious parts of this restoration.

Sunday, November 6, 2011

Putting the Puzzle Back Together (Part II)

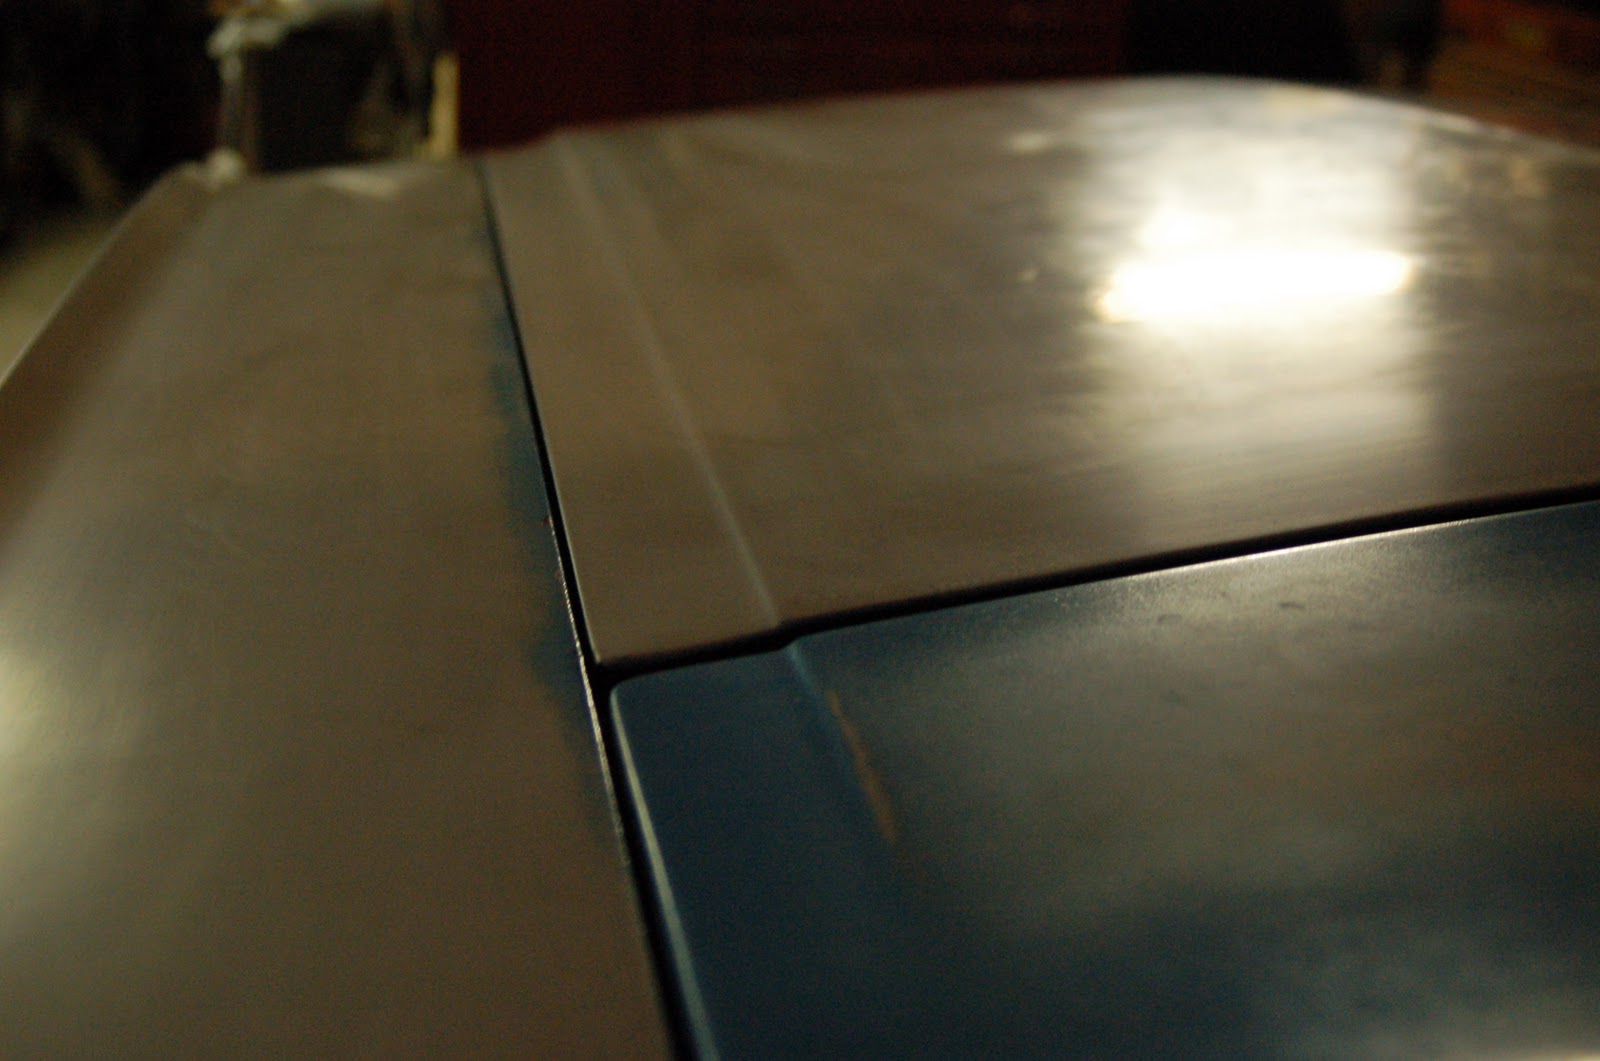
When we put the trunk lid back on the 'Stang, we realized that it didn't line up very well and in the course of bending certain areas, the Bondo cracked. Instead of trying to fix it, I found an original trunk lid on Craigslist for $50 that was located only about ten minutes from my house. It's condition was very good and only needed a little body work due to small dents. It also had a little surface rust that I knew would be cured with my Por-15 metal prep. I sealed the edges of the bottom side of the trunk  with some caulking and let it sit in the sun to dry. I did the same thing with the drip rails since the seam sealer is still setting and its been damaged in a few areas from sanding. 


I also spent a few hours sanding the car in preparation for its final coat of paint which will likely be sprayed in the next couple off weeks. My goal was to have it painted by this Saturday, but that didn't work out since there was the complication with the trunk lid. The car is fully sanded and ready for paint with the exception of the new/old trunk lid as it still needs to be sprayed with self-etching primer and then a coat of regular primer. I've already sprayed it with the metal prep to convert the surface rust.


I put the front end of the car on (front valance, upper stone deflector, headlight buckets, lower grille support) after digging through the garage to find some body clips and body bolts to do it. I also mounted the bumper mounting brackets, but I had to use the impact gun since the bolts were very stubborn going on. The rear valance still needs to be mounted on the car, but I have to find some mounting hardware for it first.


As you can see from the picture above, the hood isn't on the car. We had to take it off because it isn't lining up well at all. I think that when I attempted to close it for the first time after mounting the hood on the hinges for the first time in about two years I bent one or both of the hinges. My dad has been trying to fix the hinges, but so far he's had no luck in getting the hood to line up correctly. The hood slightly hangs over the driver's side fender which of course leaves a bigger gap on the passenger side. That part is a work in progress.

I ordered the TMI sport seat upholstery (pony) along with the headrest kit and seat foams. I also ordered the carpet which means that once the car is painted and color sanded, I can install the headliner, front/back glass, side/wing/quarter windows, carpet, and front/back seats. I'll also be able to put on the tires and rims. The car will nearly be complete. Of course I still have the mufflers and pipe to install which will set me back around $400 not to mention the bumpers, dash and a few other items. The car is coming along nicely, but this cold/rainy weather has put a temporary hold on the paint. Bummer.

Wednesday, November 2, 2011

Putting the Puzzle Back Together

This afternoon I had about three hours to work on the Mustang before my dad's 55th birthday dinner. Since the jams were recently painted, I had the opportunity to start putting the car back together which meant aligning the doors, fenders, hood, trunk, etc.The hardest part so far was aligning the doors. Since I had both doors off and the hinges off on one side of the car (to replace the pin and bushing) I had to re-set the gap all of the way around the door. Fortunately I had my older brother around to help hold the door while I loosened and tightened the hinges. Much of the time I had to work on the car today was spent adjusting the doors, but I'm sure it will be worth it in the end.

Driver Door Gap

I was also able to set the hood, but haven't gotten into "fine tuning" it just yet as I'm waiting to set the gap in between the doors and fenders.The hinges were a pain in the butt to loosen since I couldn't get the hood to close once it was mounted. I think that since the hinges haven't moved in over 2 years, they were just seized. I used some penetrating lubricant at the pivot points and that seemed to loosen them up.


I couldn't help but take a motor shot since I've got the fenders and the hood mounted back on the car. It looks like a complete motor with fenders on the car.


I thought it would be worthwhile to take a picture of the rear tail panel with it painted (and no afternoon shadows) to show just about what the car will look like once its painted.


Below is the dash and steering column painted. It'll need to be sanded and re-shot, but it looks pretty good with some paint on it.

I didn't have time to mount the headlight buckets, nor the front valance, stone deflector and lower grille support, but I"ll get to those parts this weekend. I was hoping to paint this weekend, but with all of the prep work that now needs to be done (sanding and adjusting) I don't know if that will happen. The high on Saturday is foretasted to be 62 which I would think would be good enough to paint. Depending on how much of the sanding my brother can do between now and then will determine if we paint or not on Saturday.